
SINGER® Piping Presser Foot
Machine Compatibility


Machine Compatibility
Highlights
Details
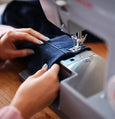
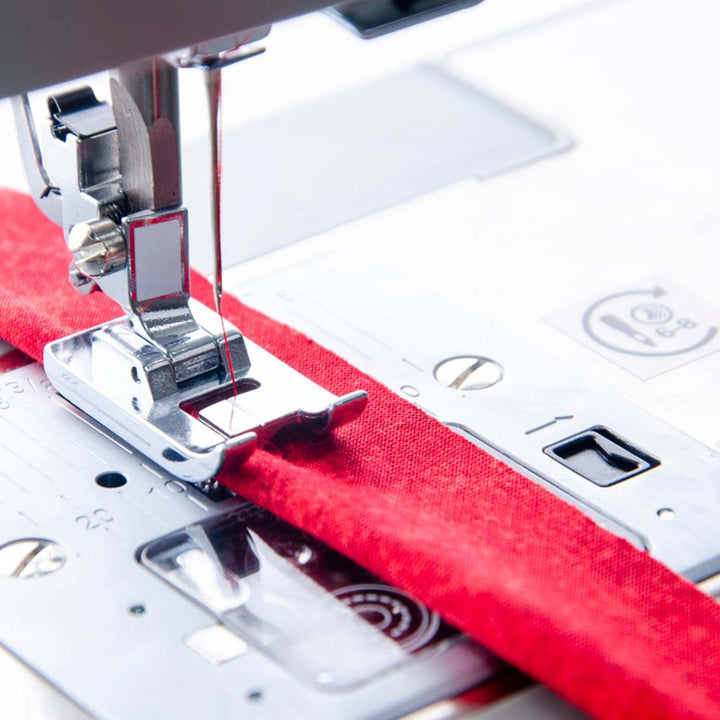
The Piping Foot is used to insert packaged piping into seams and edges for a tailored finish. For specialty piping, cord can be covered with fabric. The clear view allows you to see your stitching and piping placement and to see the first row of stitching and adjust your needle position appropriately to stitch next to the original row.
Specifications
Machine Compatibility