HUSQVARNA® VIKING® Spanish Hemstitch Foot

sku 413064845
€49,99 MSRP

Includes VAT

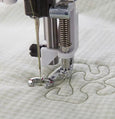
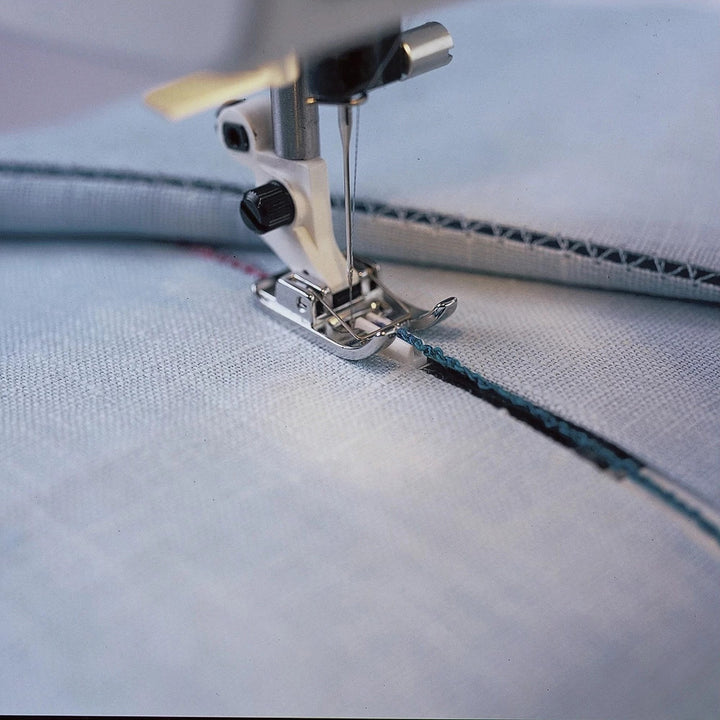
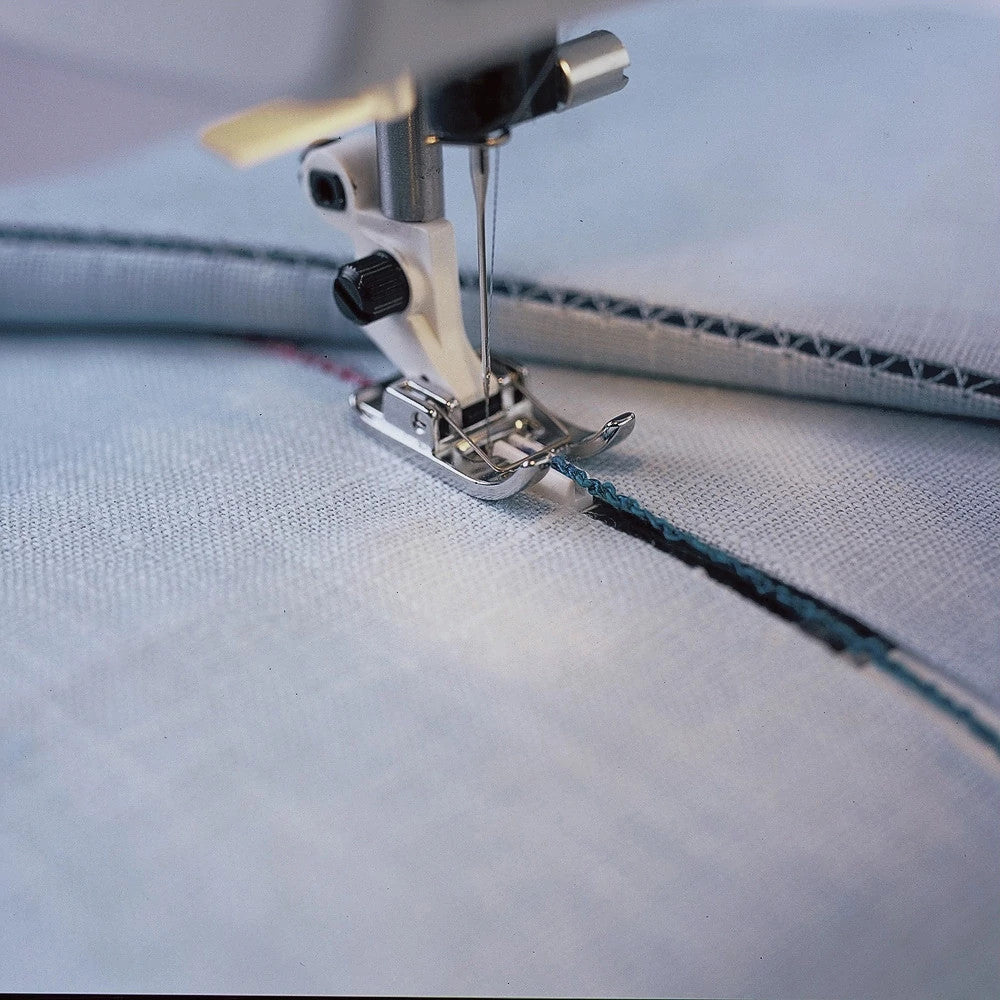
Spanish Hemstitching is a delightful addition to any project. It is used to join two finished edges.

Free standard shipping on orders over €50.00. VAT included in price.

Details
Spanish Hemstitching is a delightful addition to any project. It is used to join two finished edges. It works well to attach borders, edging to a skirt or curtain or to piece fabric, for example to achieve the width needed for a tablecloth. For the above models, the Spanish Hemstitch Distance Plate snaps on to the standard needle plate.

How to Use:


  1. Snap the Distance Plate onto the needle plate by placing the little prongs into the holes in the plate. Be sure that the plate doesn’t cover the feed teeth. Snap on the Spanish Hemstitch Foot.
  2. Thread with a decorative thread on top and in the bobbin.
  3. Select a zigzag, three step zig zag. Adjust stitch width to make sure that the needle catches the fabric edges. Note: Avoid using stitches with too much side motion and stitches with too much motion forward and back.
  4. You need to have a finished edge. If necessary, press under a 3/8” (1 cm) seam allowance on the fabric edges that will be stitched together.
  5. Place the pressed edge of the pieces on each side of the Distance Plate.
  6. Lower the presser foot.

Start with a long thread tail of both top and bobbin thread. Hold these threads as you begin sewing until the needle catches on the fabric. Because of the nature of the stitching, it will stitch on “air” for several stitches before it goes over and catches the fabric edge. Once the needle has caught the fabric, you can let go of the threads. Sew, holding the edges gently together in front of the foot.

Optional: Place a decorative thread in the groove of the Distance Plate. 
Specifications

How to Use:


  1. Snap the Distance Plate onto the needle plate by placing the little prongs into the holes in the plate. Be sure that the plate doesn’t cover the feed teeth. Snap on the Spanish Hemstitch Foot.
  2. Thread with a decorative thread on top and in the bobbin.
  3. Select a zigzag, three step zig zag. Adjust stitch width to make sure that the needle catches the fabric edges. Note: Avoid using stitches with too much side motion and stitches with too much motion forward and back.
  4. You need to have a finished edge. If necessary, press under a 3/8” (1 cm) seam allowance on the fabric edges that will be stitched together.
  5. Place the pressed edge of the pieces on each side of the Distance Plate.
  6. Lower the presser foot.

Start with a long thread tail of both top and bobbin thread. Hold these threads as you begin sewing until the needle catches on the fabric. Because of the nature of the stitching, it will stitch on “air” for several stitches before it goes over and catches the fabric edge. Once the needle has caught the fabric, you can let go of the threads. Sew, holding the edges gently together in front of the foot.

Optional: Place a decorative thread in the groove of the Distance Plate. 

Machine Compatibility